
Maker's Workbench
Good tools, better joints.
Set up your bench, choose the right soldering iron, learn to make a joint that lasts, and measure anything with a multimeter. Prices and stock on this page are always up to date.
Everything on the bench, nothing extra.
Pick the work you do and we will lay out the bench for it: the iron, solder and flux, something to remove solder, a meter and the hand tools. Untick what you already have, and add the rest to your cart in one go.
A first bench that works
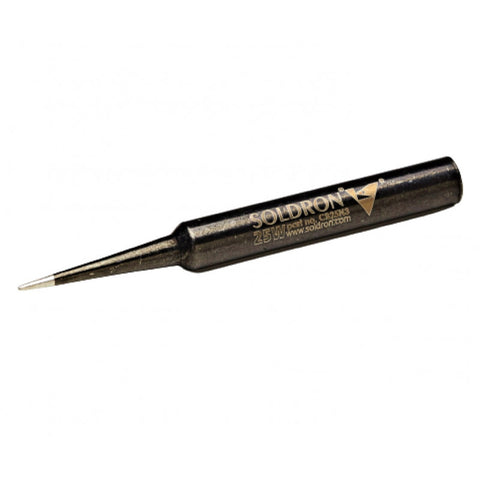
start hereEverything to solder a kit, fix a loose wire and check a battery. A plain 25 W iron is enough for through-hole parts while you learn.
- Iron
- Soldron 25 W with a metal stand
- Solder
- 60/40 rosin-cored wire and a little paste flux
- Remove
- A pump and a strip of wick for mistakes
- Measure
- A basic multimeter for volts, continuity and resistors
- Hands
- A stripper and tweezers
Good to add
A bench for makers
for makersA temperature-controlled micro station, good solder and flux, a helping hand and a meter that measures properly. Handles headers, modules, wires and simple SMD parts.
- Iron
- Soldron variable-wattage micro station
- Solder
- DL 60/40 wire, paste flux and no-clean liquid flux
- Hold
- A helping hand with LED magnifier
- Measure
- MetroQ MTQ-111 multimeter
- Hands
- Stainless stripper, flush cutter, ESD tweezers
Good to add
A bench for drones and RC
high heatThick battery wires and XT60 plugs soak up heat. A 90 W temperature-controlled iron, a big tip and 63/37 solder make clean, strong joints quickly.
- Iron
- INGCO 90 W temperature-controlled iron
- Solder
- DL 63/37 wire and paste flux
- Hold
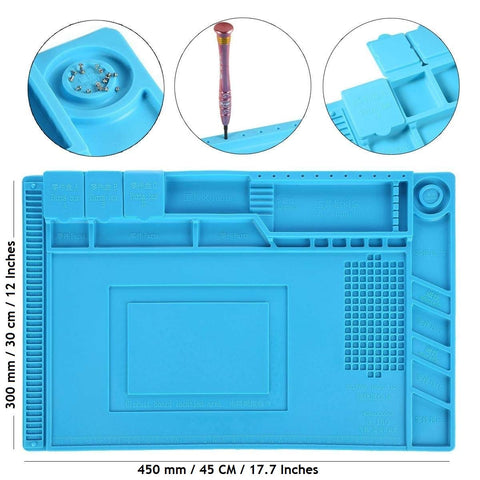
- Helping hand and a heat-proof silicone mat
- Measure
- MetroQ MTQ-777 auto-range meter
- Hands
- Wire stripper and heavy-duty nipper
Good to add
A bench for repair work
professionalA digital iron and a hot air station for SMD rework, ESD protection, and the meters you need to find the fault before you replace anything.
- Iron
- Soldron SID60A digital iron and a hot air station
- Solder
- DL 63/37, no-clean flux and paste
- Hold
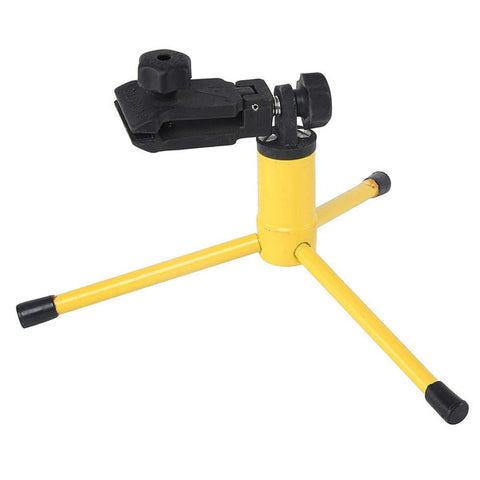
- Tripod PCB holder on an ESD mat
- Protect
- Wrist strap, grounding cord and ESD tweezers
- Measure
- MetroQ MTQ-109+ true RMS meter
Good to add
Every tool shelf
Browse all tools →Watts heat it up. Control keeps it right.
A plain iron runs as hot as it can. A temperature-controlled iron or station holds the tip at the heat you set, so small parts do not cook and big wires still get enough. That one feature makes the biggest difference to your joints.
Plain iron, 25–35 W
first iron
Plug in and wait a minute. It runs at one heat, which suits kits, through-hole parts and small wires. The tip runs hot when idle, so keep it tinned.
Adjustable iron, 60–90 W
best value
A dial on the handle sets about 200–450 °C. It heats fast and has the power for XT60 plugs and thick wires, without a separate box.
Micro station
small and steady
A small control box and a light pencil with fine tips. Comfortable for long sessions on Arduino, ESP32 and sensor boards.
Digital station
the workhorse
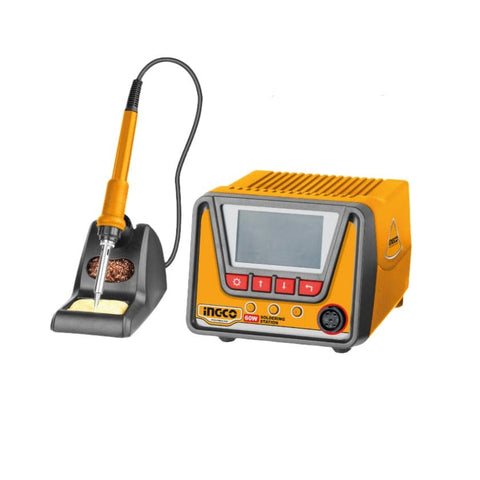
Soldron 936, 938 or the SID60A hold the tip within a few degrees, sleep when idle and take low-cost spare tips. The one to keep for years.
Hot air station
SMD and rework
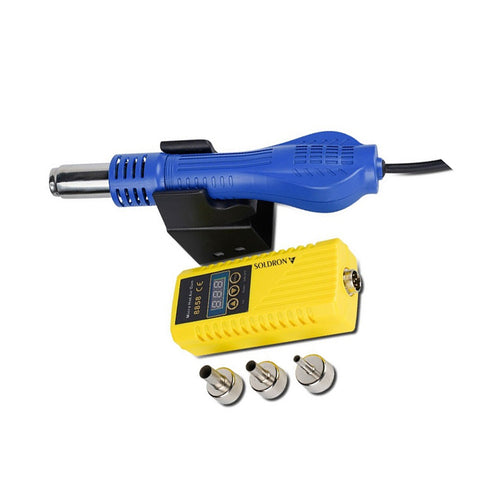
Blows hot air at 100–480 °C to lift and reflow SMD chips, shrink tubing and warm big ground planes. 2-in-1 and 3-in-1 units add an iron.
Gun and solder pot
heavy jobs
A 90–100 W gun with auto feed handles terminals and production work. A solder pot tins many wire ends in a second.
Iron and tip finder
Choose the job and the solder. We will tell you the temperature, tip and iron to use.
Turn on JavaScript to use the finder. As a guide: 320–340 °C for leaded solder, 350–370 °C for lead-free, and 380–400 °C with a big chisel tip for XT60 plugs and thick wire.
–
- Tip
- –
- Iron
- –
- Solder wire
- –
- Flux
- –
- Time on the joint
- –
Hotter is not faster. Above about 380 °C flux burns off before the solder flows, the tip turns black and pads can lift. If a joint is slow, use a bigger tip before you turn up the heat.
Soldering irons
See all →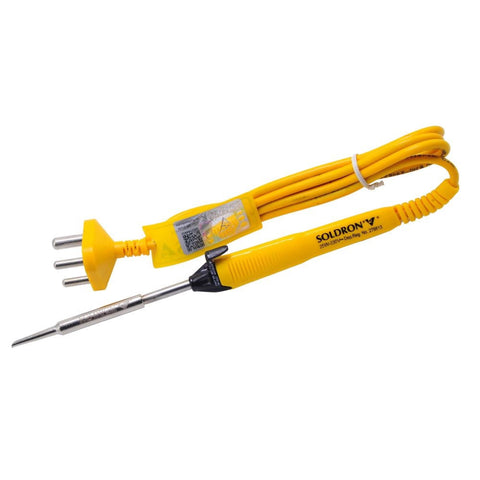


Soldering & hot air stations
See all →

Spare tips, stands & tip care
See all →

Heat the joint, not the solder.
Solder flows towards heat. Warm the pad and the lead together, touch the solder to them, and it runs in by itself. Eight steps, about three seconds a joint once you have the feel.
Set up the bench
Iron in its stand, a damp sponge or brass wool, flux, and a fan pulling the smoke away from your face. Set 330 °C for leaded solder, 350–370 °C for lead-free.
Tin the tip
Wipe the hot tip and melt a little solder on it so it shines. A shiny tip moves heat into the joint; a black one does not.
Clean and place the part
Pads and leads must be clean. Push the part through, bend the leads slightly outwards so it stays put, and flip the board.
Heat the pad and lead together
Touch the tip so it presses on both the copper pad and the lead at once. Hold it there for about one second.
Most common mistake: melting solder onto the tip and dabbing it onFeed solder into the joint
Touch the solder wire where the pad meets the lead, on the side away from the tip. It melts and runs around the lead by itself.
Solder away, then iron away
Take the wire away first, then the iron, about 2–3 seconds in all. Do not move the part for two seconds while it sets.
Look at the joint
A good joint is smooth, covers the pad and rises up the lead like a small volcano. Lumpy, dull or balled? Add flux and reheat.
Trim and clean up
Cut the lead just above the joint with flush cutters, holding the end so it does not fly. Clean flux with IPA, and tin the tip before you park the iron.
Good joint
copy this one
- Looks
- Smooth and shiny, concave sides like a small volcano, the pad fully covered and the outline of the lead still visible.
- Why
- The pad and the lead were both hot, so the solder wetted them and flowed into the gap.
- Do
- Nothing. Trim the lead and move on.
Cold joint
dull and grainy
- Looks
- Dull, grainy or lumpy, sometimes with a crack around the lead. It may work today and fail when the board warms up.
- Why
- The joint was not hot enough, or the part moved while the solder was setting.
- Fix
- Add a little flux, reheat until the solder flows smoothly, then hold still for two seconds.
Too much solder
a ball, not a cone
- Looks
- A round ball that hides the lead. It may not have wetted the pad underneath, and it can touch the next pad.
- Why
- Too much wire fed in, or the pad was cold so the solder balled up on the lead.
- Fix
- Drag the extra off with a clean tip, or lay wick on it and press with the iron. Then reheat with flux.
Too little solder
a thin ring
- Looks
- A thin ring at the base of the lead, with bare copper showing on the pad.
- Why
- Not enough solder fed in, or the flux burnt off before it could flow.
- Fix
- Reheat the joint and feed a little more solder until it forms a full cone.
Bridge
a short circuit
- Looks
- Solder joins two pads or pins that should be separate. The circuit may not work, or may get hot.
- Why
- Too much solder on pins that are close together, or not enough flux.
- Fix
- Add flux and drag a clean tip between the pins, or lift it off with wick. Check with the continuity beep.
Lifted pad
copper torn off
- Looks
- The copper pad or track has peeled up from the board, often after the part was pulled or reheated many times.
- Why
- Too much heat for too long, or force on the part while the solder was molten.
- Fix
- Lower the heat and work quickly. To repair, scrape the track nearby, bridge it with a fine wire, and fix the pad with a drop of epoxy.
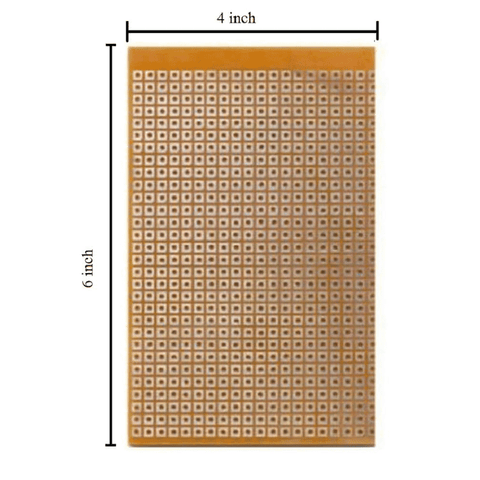
Solder fifty joints before your first real project. A practice kit or a strip of zero PCB with spare resistors costs very little, and by the last row your joints will look like the good one above.
Zero PCB & boards to practise on
See all →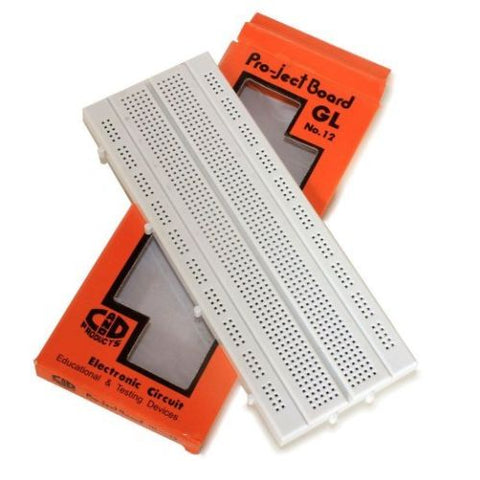


Good solder, a little flux, clean joints.
Solder is the metal that joins; flux cleans the surfaces so it can flow. Most hobby wire already has flux inside (rosin core), but a little extra flux fixes most stubborn joints. Removing solder needs its own tools.
| Solder | Melts at | Iron at | Good for |
|---|---|---|---|
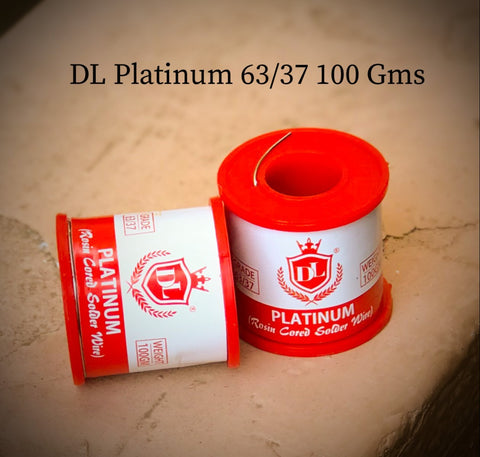
| 60/40 tin-leadrosin cored | 183–190 °C | 320–340 °C | Everyday hobby work: kits, modules, wires |
| 63/37 tin-leadeutectic | 183 °C | 310–330 °C | Fine work, SMD, drone and RC. Sets at once, so fewer cold joints |
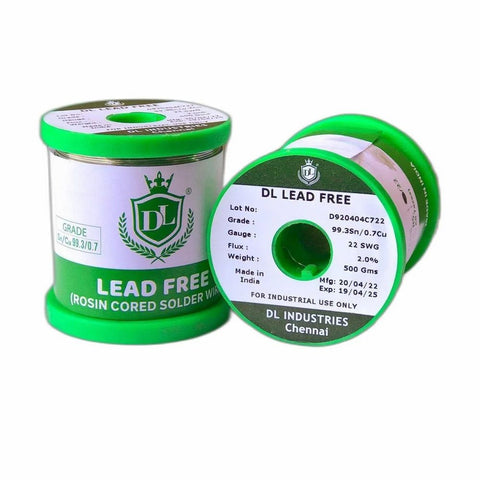
| Lead-free Sn99.3 / Cu0.7tin-copper | 227 °C | 350–380 °C | When you want no lead at home or in a school lab. Needs more heat and flux |
| Solder bar or stick60/40 | 183–190 °C | In a solder pot | Tinning many wire ends, dip soldering |
Thickness: 22 SWG (0.7 mm) suits nearly everything. Use 0.5 mm or thinner for SMD and 18 SWG (1.2 mm) for thick wires and plugs.
aPaste or liquid flux
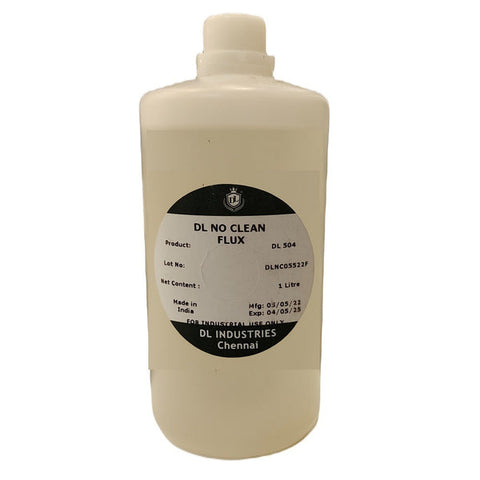
Rosin-cored wire carries flux, but it burns off if you heat the joint twice. A dab of paste flux or no-clean liquid flux makes reworking, SMD and drag soldering easy. Clean rosin residue with isopropyl alcohol (IPA) and a brush.
bDesoldering pump and wick
A pump sucks molten solder out of a through-hole joint in one go. Wick (copper braid) soaks up solder from pads, bridges and SMD pins. Add fresh solder first: old joints come out more easily when they melt quickly.
cAcid flux is not for electronics
Metal soldering paste for brass, tin sheet and plumbing is acidic. It eats copper tracks and wires over months. Keep it for metalwork, wash it off with water, and never use it on a circuit board.
Solder wire
See all →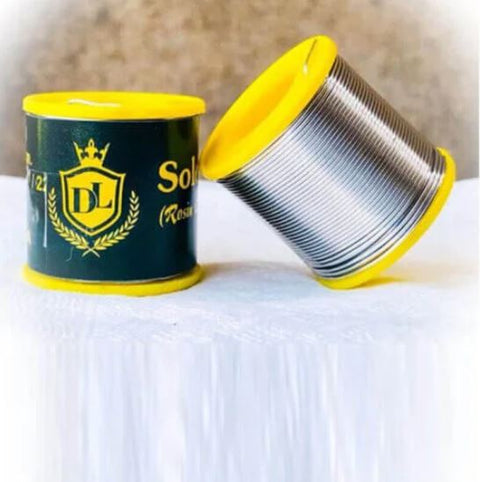
Flux, tip tinner & cleaner
See all →

Desoldering pumps, wick & kits
See all →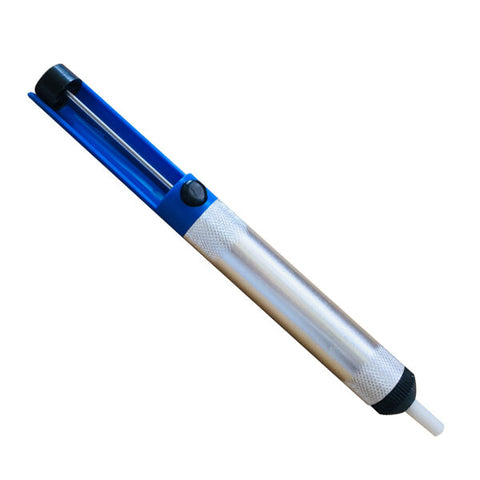


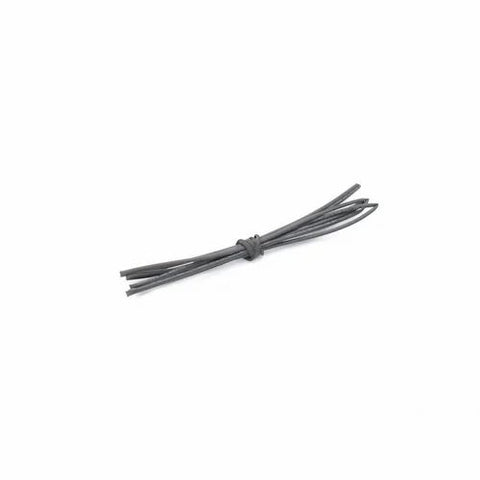
Heat shrink sleeves
See all →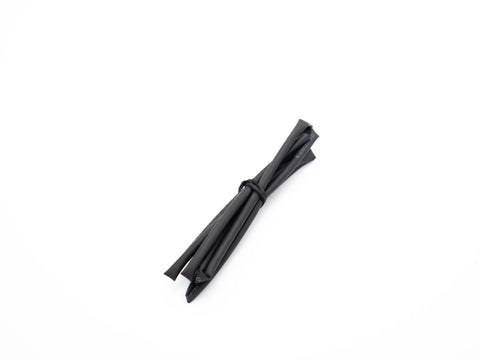


A multimeter answers most questions.
Is the battery flat? Is there a short? Which resistor is this? Did that wire break inside? Pick what you want to check and we will show you where to turn the dial and where the probes go.
Battery or board voltage
- Dial
- DC volts (V⎓). Auto range, or the 20 V range for most projects
- Red probe
- VΩmA socket
- Black probe
- COM socket
- Black probe to minus or GND, red probe to plus.
- Read the display. A minus sign only means the probes are swapped.
- Measure with the circuit switched on.
Mains socket
- Dial
- AC volts (V~), 750 V range or auto
- Red probe
- VΩmA socket
- Black probe
- COM socket
- Use a meter rated CAT II or CAT III with shrouded probes.
- Hold both probes in one hand like chopsticks, fingers behind the guards.
- Live and neutral should read about 220–240 V in India.
Short or broken wire
- Dial
- Continuity (the beep symbol)
- Red probe
- VΩmA socket
- Black probe
- COM socket
- Switch the circuit off and unplug it.
- Touch the probes together: it should beep.
- Probe both ends of a wire or two pins. Beep means connected; no beep means open.
Resistor value
- Dial
- Resistance (Ω), a range above the value you expect
- Red probe
- VΩmA socket
- Black probe
- COM socket
- Measure with the power off, and the part out of the circuit if you can.
- Do not hold both leads with your fingers: your body adds resistance.
- A 5% resistor marked 4.7 kΩ can read 4.47–4.94 kΩ.
Current draw
- Dial
- DC amps (A⎓), red probe moved to the 10A socket
- Red probe
- 10A socket
- Black probe
- COM socket
- Switch off and break the circuit: the meter goes in series, in the gap.
- Move the red lead to the 10A socket, then switch on and read.
- Move the red lead back to VΩmA as soon as you finish.
Diode or LED
- Dial
- Diode test (→|)
- Red probe
- VΩmA socket
- Black probe
- COM socket
- Red probe to the anode (long leg), black to the cathode (band or short leg).
- A silicon diode reads about 0.5–0.7; a red LED about 1.8 and may glow faintly.
- Swap the probes: it should read OL. Reads low both ways means it is shorted.
Capacitor
- Dial
- Capacitance (F or ⊣⊢)
- Red probe
- VΩmA socket
- Black probe
- COM socket
- Discharge the capacitor first, and take it out of the circuit.
- Electrolytics: red to plus, black to minus (the stripe).
- Big capacitors take a few seconds to settle.
Fuse or cable
- Dial
- Continuity, or the lowest Ω range
- Red probe
- VΩmA socket
- Black probe
- COM socket
- Take the fuse out, or unplug the cable.
- Probe both ends.
- A beep or nearly 0 Ω is good. OL means the fuse is blown or the wire is broken inside.
Basic meter
first meter
Manual ranges and a 2000-count display (up to 1999). Fine for batteries, continuity and resistors. You turn the dial to the right range.
Auto-range meter
easier
Picks the range for you and shows more digits (4000–6000 counts). Faster to use and harder to get wrong.
True RMS meter
for real-world AC
Reads AC correctly even when the waveform is not a clean sine, as with inverters, motor speed controllers and LED drivers.
Clamp meter
current without cutting
Clamp the jaws around one wire to read its current. For motors, pumps and house wiring. DC clamps also suit e-bikes and solar.
LCR meter
parts sorting
Measures inductance, capacitance and resistance more accurately than a multimeter, at test frequencies. For coils, filters and spare parts.
Analog meter
the needle
A moving needle shows trends a digital display hides, like a capacitor charging. Loved by radio and audio technicians.
Our pick to start

Our pick for serious work

Multimeters, clamp & LCR meters
See all →


When the meter is not enough.
A bench power supply, an oscilloscope and an LCR meter turn a soldering desk into a proper lab. MetroQ makes meters, bench supplies and soldering gear for Indian workshops and colleges, and we keep their range on the shelf.
aBench power supply
Set the voltage and a current limit before you power a new board for the first time. If something is wrong, the supply limits the current and the display tells you, instead of a part going up in smoke. A 0–32 V 5 A linear supply covers almost every project.
bOscilloscope
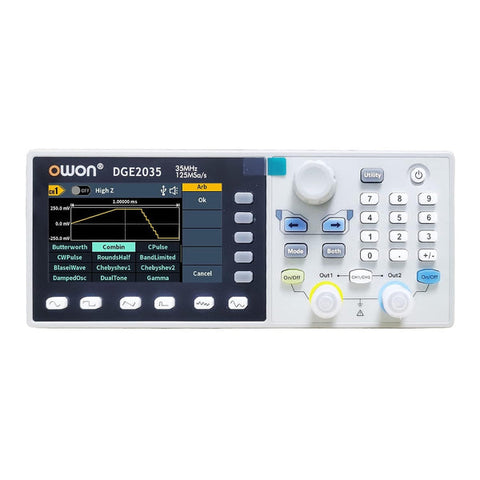
A meter shows one number; a scope shows the signal over time. See PWM to a motor, serial data, ripple on a supply or a noisy sensor. Pocket scopes are fine for learning and audio; a two-channel 50–100 MHz bench scope suits college labs and repair.
cLCR and clamp meters
An LCR meter measures inductors, capacitors and resistors properly, which helps when you wind coils or sort old parts. A clamp meter measures current through a wire without cutting it, for motors, inverters and house wiring.
Our pick for the bench supply

Our pick for the LCR meter

MetroQ
See all →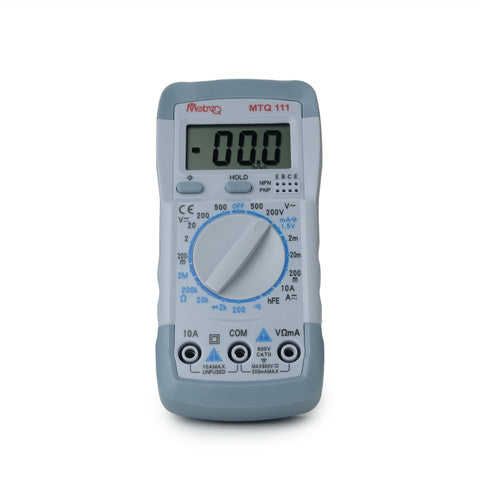


Bench power supplies
See all →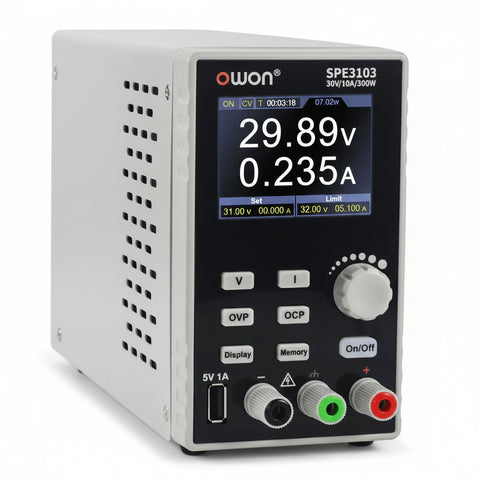


Oscilloscopes & signal generators
See all →


Cut, strip, hold, turn.
Six hand tools do most of the work around a soldering iron. Buy each one once, for the size of wire and screw you actually use.
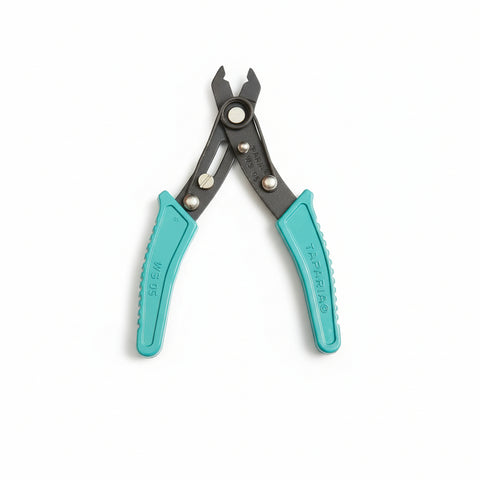
aFlush cutters
Small side cutters that cut component leads flat against the joint. Use them only on copper leads; steel wire and nails chip the jaws.
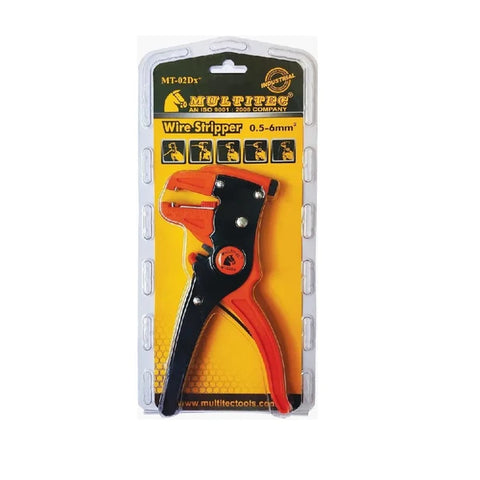
bWire strippers
Sized slots or a self-adjusting stripper take the insulation off without nicking the copper. A nicked strand is where a wire breaks later.
cLong-nose pliers
Bend leads, hold a hot wire, pull a connector pin. Mini pliers suit electronics; bigger ones suit drone frames and terminals.
dTweezers
Straight and bent tips for SMD parts and small screws. Anti-static (ESD) tweezers will not zap a chip.
ePrecision screwdrivers
Phillips, flat, Torx and hex bits from 1.5 mm for modules, phones, servos and laptops. A bit set covers more screws than a drawer of drivers.
fA third hand
A helping hand with clips, or a PCB holder, keeps the board and wires still so both your hands are free for the iron and the solder.
| Wire | Copper area | Stripper slot | Up to about | Used for |
|---|---|---|---|---|
| 28 AWG | 0.08 mm² | 0.3 mm | 0.5 A | Ribbon cable, fine signal wire |
| 26 AWG | 0.13 mm² | 0.4 mm | 1 A | Dupont jumpers, sensor leads |
| 24 AWG | 0.2 mm² | 0.5 mm | 2 A | Breadboard hook-up wire, servo leads |
| 22 AWG | 0.33 mm² | 0.65 mm | 3 A | Arduino projects, LED strips, small motors |
| 20 AWG | 0.5 mm² | 0.8 mm | 5 A | Robot motors, 12 V accessories |
| 18 AWG | 0.82 mm² | 1.0 mm | 10 A | Small ESC leads, 12 V supplies |
| 16 AWG | 1.3 mm² | 1.3 mm | 15 A | Battery leads for small drones |
| 14 AWG | 2.1 mm² | 1.6 mm | 25 A | XT60 leads on 5" quads, e-bike wiring |
| 12 AWG | 3.3 mm² | 2.0 mm | 40 A | Big ESCs, 3S–6S power leads |
| 10 AWG | 5.3 mm² | 2.6 mm | 60 A | XT90 leads, high-current packs |
Current figures are for short hobby runs with silicone or PVC wire. For house wiring, follow the electrician's tables, which are lower.
Cutters, strippers, pliers & drivers
See all →

Helping hands, holders, stands & mats
See all →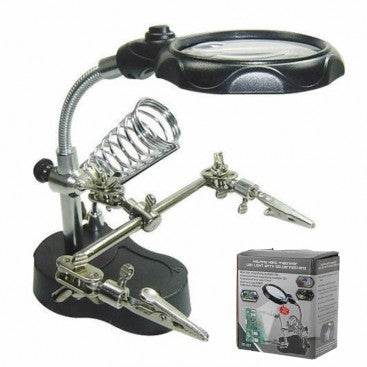


Glue guns & sticks
See all →


Eight habits of a tidy bench.
An iron tip is hotter than a frying pan and solder smoke is not good to breathe. These habits keep a bench safe for you, for children learning next to you, and for the parts you work on.
The stand is its home
The iron goes back in its stand every time you let go, never on the bench. Switch it off when you leave the room.
Hold it like a pen, by the grip
The tip is at 300–400 °C and the metal shaft is hot too. Cool a burn under running water for 10 minutes.
Send the smoke away
Rosin flux smoke irritates the throat and lungs. Use a fume extractor, or a fan blowing across the bench, with a window open.
Wash your hands
After leaded solder, wash before you eat, and keep food and drinks off the bench. Choose lead-free for young children.
Protect your eyes
Wear glasses when you trim leads and desolder: clipped leads fly and hot solder can spit.
Ground yourself
Static can kill chips, ESP32s and MOSFETs without a spark you can see. Use an ESD mat and wrist strap for repair work.
Unplug before you open it
Anything that plugs into the mains, from SMPS to TVs, can hold a deadly charge after unplugging. If you are not trained, do not open it.
Look after the cords
Replace an iron with a melted or cut cable at once, and plug stations into an earthed 3-pin socket.
ESD protection & fume extraction
See all →


Safety gear
See all →


Black tip, balled solder, dead meter.
Most bench problems are one of these, and most have a two-minute fix.
Solder balls up and will not stick to the pad
The pad is dirty or oxidised, or only the solder is being heated. Clean the pad, add flux, and heat the pad and lead together before you feed solder.
The tip turned black and solder will not wet it
It oxidised from sitting hot without solder. Rub it in brass wool or tip tinner while hot, then tin it. Never file a plated tip, and keep it tinned when parked.
The iron cannot heat an XT60 or a big pad
Not enough power or tip mass. Use a 4–5 mm chisel tip on a 60–90 W controlled iron, add paste flux, and pre-tin both parts.
Bridges between IC pins
Add flux and drag a clean, lightly tinned tip away from the chip, or press wick onto the bridge with the iron. Check with the continuity beep afterwards.
I cannot get a part out of the board
Add fresh solder to each joint first, then pump or wick it out. For parts with many legs, cut the legs and remove them one at a time, or use hot air.
My multimeter reads 0 on current, or nothing at all
The internal fuse has probably blown, usually from measuring volts with the red lead in the A socket. Check the fuse with continuity and replace it with the same rating.
Meter readings jump around or look wrong
The meter battery is weak. Replace it when the battery symbol shows. Loose probe tips and dirty sockets cause it too.
Every joint looks fine but the circuit does not work
Look for a cold joint, a hidden bridge or a part the wrong way round (diodes, LEDs, electrolytics, ICs). Use continuity to check each connection against the schematic.
Sticky brown residue around the joints
That is rosin flux. Clean it with isopropyl alcohol (IPA) and an old toothbrush or an ESD brush, or switch to no-clean flux.
Heat shrink melted the wire insulation, or shrank unevenly
Use a hot air gun or station, not the iron, and keep it moving around the sleeve. Choose sleeve about twice the wire diameter.
Questions makers ask us
Which soldering iron should a beginner buy?
For school kits and simple projects, a 25 W plain iron such as the Soldron 25 W is enough. If you can spend a little more, choose a temperature-controlled iron or a micro station: it protects small parts, handles thick wires, and makes learning easier. Buy a stand, a sponge and good rosin-cored solder with it.
What temperature should I solder at?
Around 320–340 °C for leaded 60/40 or 63/37 solder, and 350–370 °C for lead-free. Use 380–400 °C with a big chisel tip for XT60 plugs and thick battery wires. If a joint is slow, use a bigger tip before turning up the heat.
Should I use 60/40, 63/37 or lead-free solder?
60/40 is fine for most hobby work. 63/37 goes from liquid to solid at one temperature, so joints set cleanly and cold joints are less likely; it is the favourite for SMD and drones. Lead-free needs about 30 °C more heat and a little more flux, and is the choice when you want no lead at home or in a school lab.
Do I need flux if my solder already has a rosin core?
For new joints, the flux inside the wire is usually enough. For reworking a joint, SMD parts, drag soldering, old or oxidised parts and thick wires, a little extra paste or no-clean liquid flux makes a big difference.
How do I look after a soldering tip?
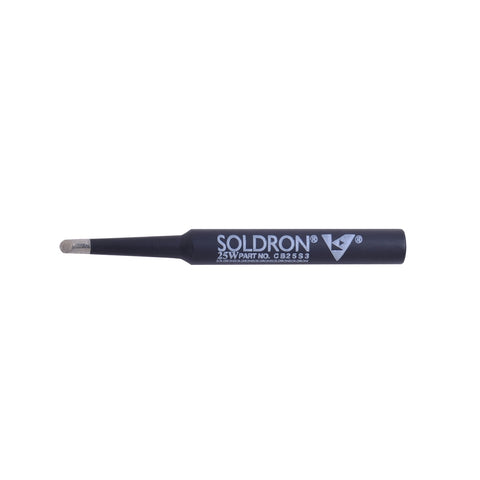
Keep it tinned: melt a little solder on the tip before you park the iron and before you switch it off. Wipe it on a damp sponge or brass wool, use tip tinner if it turns black, do not run it hotter than needed, and never file a plated tip.
Which multimeter should I buy for electronics?
A basic meter that measures DC volts, resistance and continuity covers most school and hobby work. An auto-range meter with 4000–6000 counts, such as the MetroQ MTQ-111 or MTQ-109+, is easier and more accurate. Buy one with a continuity beep and a fused current input.
What is True RMS and do I need it?
True RMS meters read AC voltage and current correctly even when the waveform is not a clean sine wave, as with inverters, motor speed controllers and LED drivers. For batteries and Arduino projects you do not need it; for mains, solar and inverter work it is worth having.
Is soldering safe for students at home?
Yes, with supervision and a few habits: use a stand, solder in a ventilated room with a fan pulling smoke away, wear glasses when trimming leads, wash hands after leaded solder, and choose lead-free solder for younger children. Never work on anything that plugs into the mains.
Setting up a bench? Send us your list.
Tell us what you build or repair and your budget, and we will suggest the iron, meter and tools that suit it.
Learn. Shop. Share.