





01Beginner
Wi-Fi LED switch
Control an LED from your phone. It is the Wi-Fi switch code from chapter 04, and the base for every remote-control project.

IoT Hub
Choose the right ESP32 board, learn the pins, upload your first code, power it from a battery, connect sensors, and build real projects for home, school and farm.
Every ESP32 is a small computer with Wi-Fi built in, so it can read sensors, switch things and talk to your phone or the internet. The boards differ in speed, memory, radios and size. Tell us what you want to make and we will point you to the right one.
The board most ESP32 tutorials are written for. It plugs into a breadboard, programs over USB-C, and has Wi-Fi and Bluetooth built in.
Need screw terminals? Pair it with an ESP32 expansion board from the boards shelf.
The same ESP32 chip with a few more pins broken out, including GPIO 0. Drop it into a 38-pin expansion board and wire sensors with screw terminals instead of a breadboard.
The expansion board adds screw terminals and a power jack.
The newest dual-core ESP32 with 16 MB flash and 8 MB PSRAM. It has native USB (it can act as a keyboard or mouse) and extra instructions for AI, so it handles cameras, colour screens and voice.
Want a camera on it? There are S3 boards with an OV3660 or OV5640 camera fitted.
A small ESP32 board with a 2 MP camera and a microSD slot. It streams video over Wi-Fi, takes photos on motion, and can read QR codes. It has no USB port, so add the MB base board to program it.
Add the ESP32-CAM MB base board for USB programming.
A board about the size of a thumbnail with a RISC-V core, Wi-Fi and Bluetooth 5. It programs straight over USB-C with no extra chip, and suits wearables and small battery sensors.
An expansion board for the C3 Super Mini is also in stock.
The first ESP32 with Wi-Fi 6 and an 802.15.4 radio for Zigbee and Thread. That makes it a good base for Matter smart-home devices that talk to Alexa, Google Home and Home Assistant.
Bigger C6 boards with a colour display are in the ESP32 shelf.
An ESP32 with a LoRa radio and a small OLED screen. LoRa sends small messages over several kilometres in open land, so it suits farms, water tanks and places with no Wi-Fi. It also runs Meshtastic for off-grid text messaging.
You need two boards to talk to each other, or one board and a gateway.
The chip that started cheap Wi-Fi projects. It is still fine for a simple Wi-Fi switch or sensor, but it has one analog pin, fewer GPIO and no Bluetooth. For new projects, an ESP32 costs a little more and does much more.
Running an old ESP8266 tutorial? Most of the code also works on ESP32 with small changes.
| Chip | Processor | RAM | Wi-Fi | Bluetooth | Other radio | USB | GPIO |
|---|---|---|---|---|---|---|---|
| ESP32 | 2 × 240 MHz | 520 KB | Wi-Fi 4 | Classic + BLE 4.2 | – | Via USB-serial chip | 3418 ADC · 10 touch · 2 DAC |
| ESP32-S3 | 2 × 240 MHz | 512 KB + PSRAM | Wi-Fi 4 | BLE 5 | – | Native USB OTG | 4520 ADC · 14 touch |
| ESP32-C3 | 1 × 160 MHz RISC-V | 400 KB | Wi-Fi 4 | BLE 5 | – | Built-in USB serial | 226 ADC |
| ESP32-C6 | 1 × 160 MHz RISC-V | 512 KB | Wi-Fi 6 | BLE 5 | Zigbee, Thread | Built-in USB serial | 307 ADC |
| ESP8266 | 1 × 80/160 MHz | ~80 KB free | Wi-Fi 4 | – | – | Via USB-serial chip | 171 ADC |
This is the 30-pin ESP32 DevKit, antenna at the top. Tap any pin to see what it does. Green pins are safe for anything, blue pins are input only, and orange pins change how the board starts, so wire them last.
ESP32 pins are 3.3 V. Never connect a 5 V signal straight to a GPIO. Use a voltage divider or a logic level converter for 5 V sensors such as the HC-SR04. Each pin can safely give about 20 mA, enough for an LED but not a motor or relay coil.
You need the board, a USB cable that carries data (not a charge-only cable), and a computer. The Arduino IDE is free and is the easiest place to start.
Download Arduino IDE 2 from arduino.cc for Windows, Mac or Linux.
Open File → Preferences and paste this link into "Additional boards manager URLs":
https://espressif.github.io/arduino-esp32/package_esp32_index.json
Open Tools → Board → Boards Manager, search for esp32, and install the package by Espressif Systems.
Look at the small chip next to the USB port. CP2102 needs the Silicon Labs CP210x driver, CH340 needs the WCH driver. S3, C3 and C6 boards with native USB usually need no driver.
Choose ESP32 Dev Module for the 30 and 38-pin boards (or your exact board, such as ESP32S3 Dev Module), then the COM port that appears when you plug it in.
Open the Blink example from chapter 04 and press Upload. If it stops at "Connecting…", hold the BOOT button until the upload starts.
Upload stuck? See chapter 09Prefer Python? Flash MicroPython onto the board with Thonny and write code line by line. Building smart-home devices? ESPHome lets you set up sensors with a short text file and no code, and connects straight to Home Assistant.
Blink proves your setup works. The Wi-Fi switch puts a web page on your board that any phone at home can open. Deep sleep is how a battery sensor lasts for months. Copy one, paste it into the Arduino IDE and upload.
// Blink the blue on-board LED (GPIO 2)
const int LED = 2;

void setup() {
  pinMode(LED, OUTPUT);
  Serial.begin(115200);
  Serial.println("Hello from IHC!");
}

void loop() {
  digitalWrite(LED, HIGH);
  delay(500);
  digitalWrite(LED, LOW);
  delay(500);
}
// Turn the LED on and off from your phone's browser
#include <WiFi.h>
#include <WebServer.h>
const char* ssid = "YOUR_WIFI";
const char* pass = "YOUR_PASSWORD";
const int LED = 2;
WebServer server(80);
void page() {
String s = "<meta name='viewport' content='width=device-width'>";
s += "<h1>IHC ESP32</h1><p>LED is ";
s += digitalRead(LED) ? "ON" : "OFF";
s += "</p><a href='/on'>ON</a> | <a href='/off'>OFF</a>";
server.send(200, "text/html", s);
}
void setup() {
Serial.begin(115200);
pinMode(LED, OUTPUT);
WiFi.begin(ssid, pass);
while (WiFi.status() != WL_CONNECTED) { delay(500); Serial.print("."); }
Serial.println();
Serial.println(WiFi.localIP()); // open this address on your phone
server.on("/", page);
server.on("/on", []() { digitalWrite(LED, HIGH); page(); });
server.on("/off", []() { digitalWrite(LED, LOW); page(); });
server.begin();
}
void loop() {
server.handleClient();
}// Wake every 10 minutes, do the work, then sleep
#define uS_TO_S 1000000ULL
RTC_DATA_ATTR int wakes = 0; // kept during deep sleep
void setup() {
Serial.begin(115200);
wakes++;
Serial.printf("Wake number %d\n", wakes);
// Read your sensor and send the reading here
esp_sleep_enable_timer_wakeup(10 * 60 * uS_TO_S);
esp_deep_sleep_start();
}
void loop() {
// never runs: the board restarts from setup() after each sleep
}Upload, then open the Serial Monitor at 115200 baud. The blue LED blinks once a second.
Type your Wi-Fi name and password, upload, and open the IP address from the Serial Monitor on a phone on the same Wi-Fi. Use a 2.4 GHz network: the ESP32 cannot see 5 GHz.
This is how battery sensors last for months. Check the result in the calculator in chapter 05.
An ESP32 uses about 100–250 mA with Wi-Fi on, with short peaks near 500 mA. In deep sleep the chip itself uses only about 10 µA. So a battery project wakes up, does its job in a few seconds, and goes back to sleep.
The simplest choice for anything near a socket. Use a 5 V 1 A (or bigger) supply into the USB port or VIN. Cheap phone chargers can be noisy; a good SMPS adapter avoids random resets.
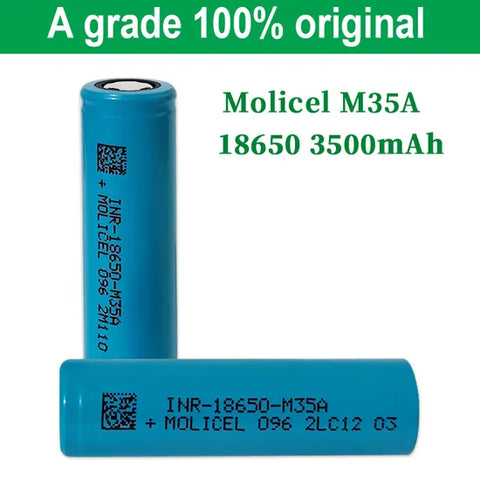
One 18650 Li-ion cell (3.7 V) with a charging board and a low-dropout 3.3 V regulator, or a board with a battery socket built in. Two AA cells are too weak once they run down. Always use a protected cell or a BMS.
A 6 V solar panel, a solar charging module and an 18650 cell will run a deep-sleep sensor outdoors for years. Size the panel for the cloudy months, not the sunny ones.
Estimate how long a battery runs your project when it wakes, works and sleeps.
Turn on JavaScript to use the calculator. Battery hours ≈ capacity in mAh × 0.8 ÷ average current in mA.
Estimated running time on one charge.
Most sensor modules connect in one of three ways. I²C uses two shared wires (SDA 21, SCL 22) for many sensors at once. SPI is faster and suits screens and SD cards. Simple sensors just need one digital or analog pin. Here is how to wire the common ones.
| Module | ESP32 pins | Power | Good to know |
|---|---|---|---|
| Temperature & humidityDHT11 / DHT22 | Data → GPIO 4 | 3.3 V | Add a 10 kΩ pull-up if your module has none. |
| Weather (temp, humidity, pressure)BME280 / BMP280 | SDA 21, SCL 22 | 3.3 V | I²C address 0x76 or 0x77. |
| 0.96″ OLED screenSSD1306 | SDA 21, SCL 22 | 3.3 V | Shares the I²C pins with other sensors. |
| Motion and tiltMPU6050 | SDA 21, SCL 22 | 3.3 V | Gyro and accelerometer. |
| Soil moistureCapacitive sensor v1.2 | Analog → GPIO 34 | 3.3 V | Use an ADC1 pin (32–39) so it works with Wi-Fi on. |
| DistanceHC-SR04 ultrasonic | Trig 5, Echo 18 | 5 V | Echo is 5 V: use a 1 kΩ / 2 kΩ divider or the 3.3 V HC-SR04P. |
| Motion detectorHC-SR501 PIR | Out → GPIO 27 | 5 V (VIN) | The output is already 3.3 V. |
| Relay1–4 channel relay module | IN → GPIO 26 | 5 V (VIN) | Pick an opto-isolated module that triggers at 3.3 V. Mains wiring needs an electrician. |
| ServoSG90 / MG996R | Signal → GPIO 13 | 5 V, separate supply | Use the ESP32Servo library and join the grounds. |
| DC motorsTB6612FNG / L298N driver | PWM 25, 26 + direction pins | Motor battery | TB6612 works best at 3.3 V logic. |
| RGB LED stripWS2812B | Data → GPIO 16 | 5 V, separate supply | A 74HCT125 level shifter makes long strips reliable. |
| RFID readerRC522 | SPI 18, 19, 23 · SS 5 · RST 27 | 3.3 V | Never power the RC522 from 5 V. |
| GPSNEO-6M / NEO-M8N | TX → 16, RX → 17 | 3.3–5 V | Uses the second serial port (UART2). |
Join every ground. When a sensor, motor or LED strip has its own power supply, connect its GND to the ESP32's GND. Most "it reads nonsense" problems are a missing ground wire.
Wi-Fi is the default, but it is not always the best choice. A short hop to your phone, a robot remote, a farm a kilometre away and a tracker on the road all need different radios.
home and internet
Connects to your router and the internet. Use it for web dashboards, MQTT, Telegram alerts and cloud apps. Built into every ESP32.
talk to a phone
Low-power link to a phone app, fitness band or beacon. The original ESP32 also has Bluetooth Classic for serial apps and audio; S3, C3 and C6 have BLE only.
board to board, no router
ESP32s send short messages straight to each other in a few milliseconds. Perfect for remotes, robots and sensors that report to one hub board.
kilometres, tiny data
Sends a few bytes over 2–5 km, more with a clear view. Needs a LoRa board or an SX1276 / SX1262 module. Choose the 865–867 MHz band for LoRaWAN in India.
anywhere with a SIM
Works wherever a phone works: trackers, remote pumps, SMS alerts. SIM800L boards use 2G, so check your operator still runs 2G where you are. SIM7000 and SIM7600 modules use 4G.
smart-home mesh
Low-power mesh networks used by smart bulbs and sensors. The ESP32-C6 speaks both, and with Thread it can build Matter devices for Alexa, Google Home and Home Assistant.
Where does the data go? Start with a web page on the board itself. Then try Blynk or Arduino Cloud for a phone app, ThingSpeak for graphs, a Telegram bot for alerts, or Home Assistant with ESPHome or MQTT to run it all at home without the cloud.
Each project lists the parts you need, linked to the shelf. Start with a beginner one, then pick whatever solves a problem at home, school or work.
Control an LED from your phone. It is the Wi-Fi switch code from chapter 04, and the base for every remote-control project.
Show temperature, humidity and pressure on a small OLED, and on a web page you can open from any phone at home.
A soil sensor checks the pot every hour and sends a Telegram message when the plant needs water.
Switch lights and fans from your phone or by voice, with ESPHome and Home Assistant. Mains wiring must be done by an electrician.
Stream live video, save photos to a microSD card when the PIR sensor sees motion, and send them to your phone.
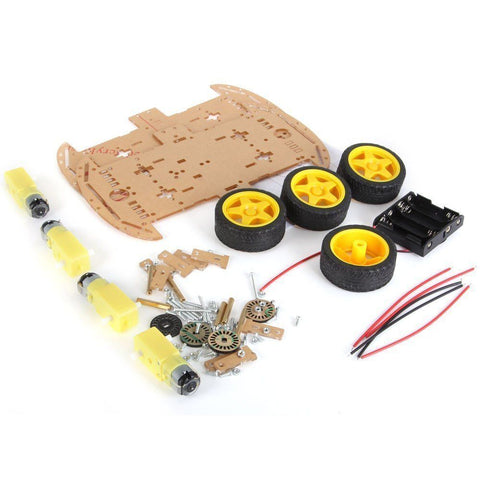
Drive a 2WD or 4WD car over Bluetooth or Wi-Fi from your phone, then add an ultrasonic sensor so it stops before walls.
An ultrasonic sensor on the tank lid shows the water level on your phone, and a relay can stop the pump when the tank is full.
Measure weather outdoors on solar power. Deep sleep and a charging board keep it running through cloudy days.
Send soil and tank readings across fields several kilometres away, with no Wi-Fi or SIM card.
Send your bike or car location to your phone by SMS or over the internet with a GSM or 4G module.
Make a handheld remote that talks straight to another ESP32 in milliseconds, with no router. Great for robots and model control.
Use an ESP32-S3 with a camera to detect faces at the door and send a snapshot to your phone.
Science fair or final-year project? Send us your idea on WhatsApp and we will suggest a parts list that fits your budget.
Nearly every ESP32 problem is one of these. Find the message you see and open it.
Failed to connect to ESP32: Timed out waiting for packet headerThe board did not enter upload mode. Hold the BOOT button when the IDE shows "Connecting…", and let go once the upload starts. If you have to do this every time, solder a 10 µF capacitor between EN and GND.
No COM port appearsInstall the USB driver for the chip next to the USB port: CP210x (CP2102) or CH340. Many cheap USB cables only carry power, so try a different cable that you know carries data.
Brownout detector was triggeredThe board is not getting enough power when Wi-Fi switches on, which needs up to 500 mA for a moment. Use a better cable or a 5 V 1 A supply, and add a 100–470 µF capacitor across 5 V and GND.
Board restarts in a loop after wiringSomething is holding a strapping pin (GPIO 0, 2, 5, 12 or 15) in the wrong state at boot. Unplug your wires, check it boots, then move the part to a safe pin from chapter 02.
analogRead() always gives 0 or 4095 with Wi-Fi onYou are using an ADC2 pin, which Wi-Fi takes over. Move the sensor to an ADC1 pin: GPIO 32, 33, 34, 35, 36 or 39.
Wi-Fi will not connectThe ESP32 only works on 2.4 GHz Wi-Fi. Check the network name and password (they are case-sensitive), move closer to the router, or use a board with an external antenna.
Sketch too bigIn the Tools menu, choose a larger Partition Scheme such as "Huge APP (3MB No OTA)", or use a board with more flash, like the S3 N16R8.
Random resets when a relay or motor switchesMotors and relay coils cause voltage spikes. Power them from a separate supply, join the grounds, use opto-isolated relay modules, and add a flyback diode across DC motors and coils.
Strange characters in the Serial MonitorSet the Serial Monitor to the same speed as Serial.begin(), usually 115200 baud. A few strange characters right after reset are normal.
An ESP32 is a small microcontroller board with Wi-Fi and Bluetooth built in. Compared with an Arduino UNO it is about 15 times faster, has far more memory and can connect to the internet on its own. You can program it with the same Arduino IDE and most Arduino code. The main difference is that its pins work at 3.3 V instead of 5 V.
For a new project, choose the ESP32. It costs a little more but has two cores, Bluetooth, many more pins and 15 analog inputs instead of one. The ESP8266 is still fine for a simple Wi-Fi switch or sensor, or to follow an older tutorial.
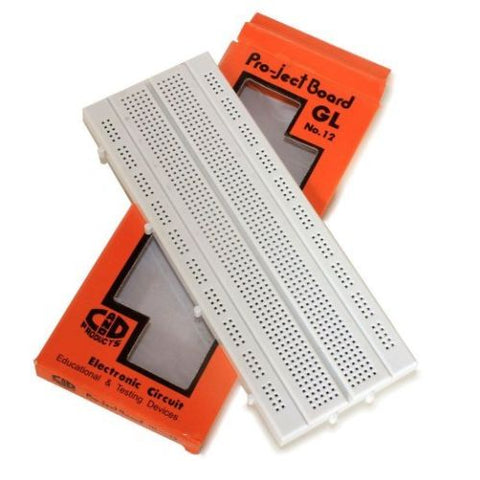
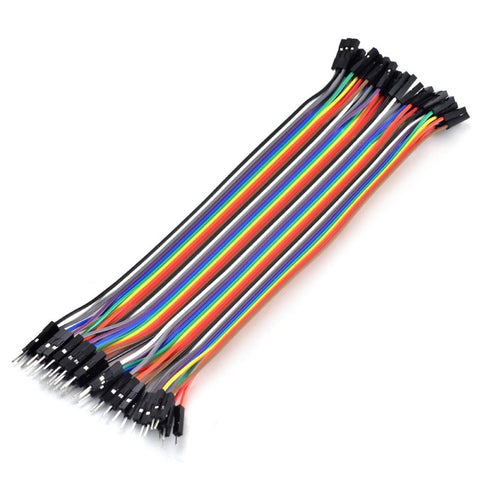
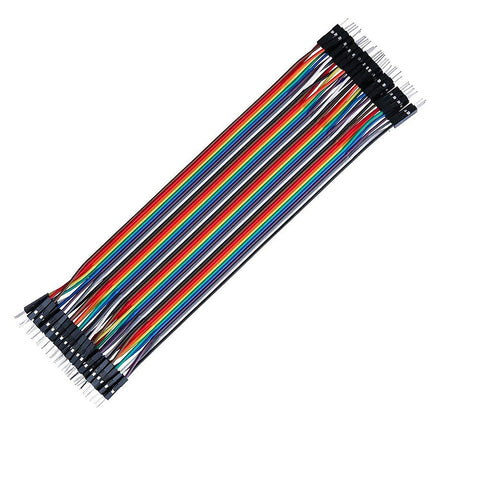
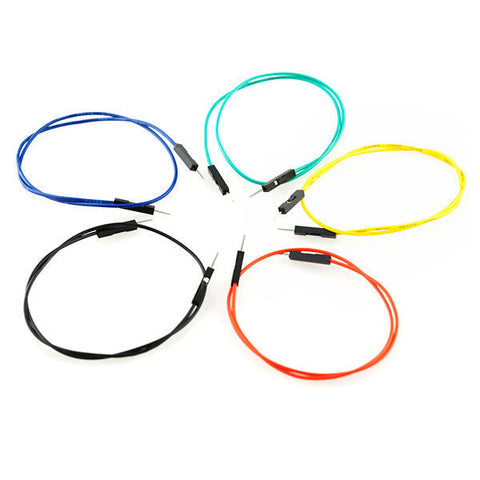
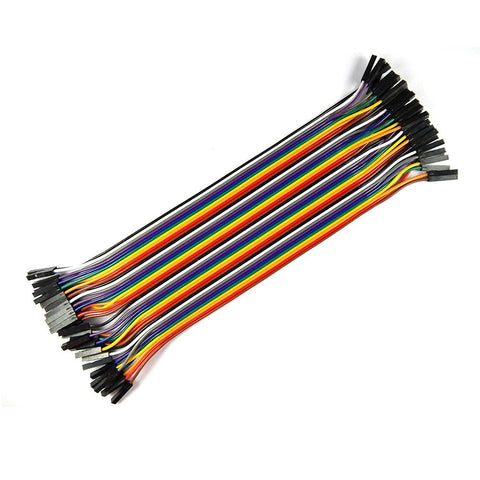
The ESP32 30-pin DevKit with USB-C. It fits a breadboard, almost every tutorial uses it, and everything you learn carries over to the S3, C3 and C6 boards. Add a breadboard, jumper wires and a couple of sensors and you are ready to start.
Yes. The Arduino IDE (C++) is the most common way, but you can also flash MicroPython and write Python with the free Thonny editor. ESPHome lets you set up sensors and switches with a short text file and no code, and connects to Home Assistant.
You can power many 5 V modules from the VIN pin, but the signal going into the ESP32 must be 3.3 V or less. Use a voltage divider or a logic level converter for 5 V outputs, such as the echo pin of an HC-SR04. Sensors that work at 3.3 V, like the BME280, DHT22 and SSD1306 OLED, connect directly.
Wi-Fi and Bluetooth reach about 10–50 m indoors, depending on walls. ESP-NOW between two boards reaches about 100–200 m in the open. For kilometres, use a LoRa board, and for anywhere with mobile coverage, use a GSM or 4G module.
Yes. Send your idea or circuit on WhatsApp at 82499 31161 or email info@indianhobbycenter.com, and we will help you choose a board, sensors and power supply that work together.
Standard shipping is a flat ₹75 and express is ₹120, with no minimum order. Orders above ₹1,999 ship free with the code FREESHIPPING.
Tell us what you want to build and we will help you choose a board, sensors and power that work together.
Learn. Shop. Share.