
Drone build desk · ships across India
Build your own drone, then fly it safely.
A step-by-step guide from frame to first flight: how to choose the motors, ESC, propellers and frame, how to work out flight time and the right battery, how to fly safely, and how to build an RC plane from balsa and depron.
Decide what it should do, then pick the size.
Every part on a drone depends on one choice: the propeller size. The props decide the frame, the frame decides the motors, and the motors decide the ESC and battery. So start with the job you want the drone to do.
F450 quad
Starter shopping list- Frame
- F450, 450 mm glass-fibre with built-in power board
- Props
- 10 × 4.5″ (1045), 2 CW + 2 CCW
- Motors
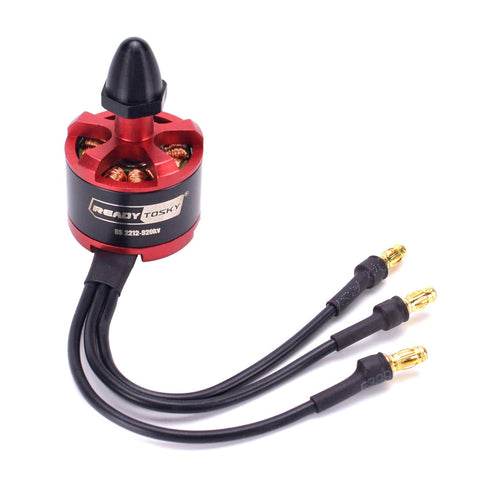
- 4 × 2212, 920–1000 KV
- ESC
- 4 × 30 A, 2–4S
- Battery
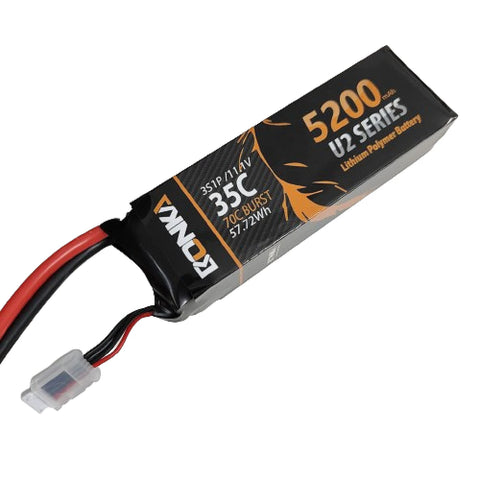
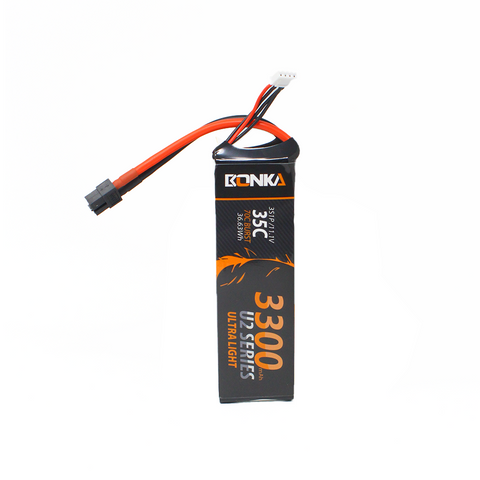
- 3S 2200–5200 mAh, 30C or more, XT60
- Brain
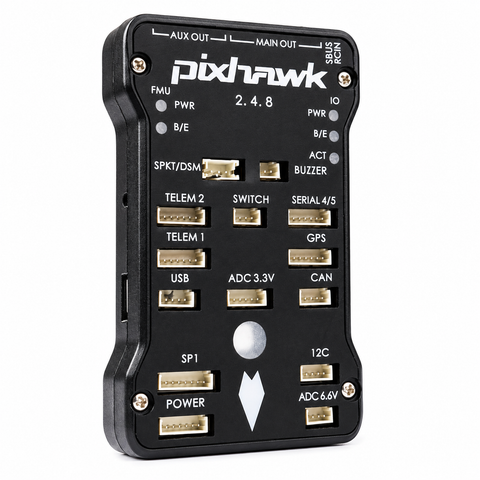
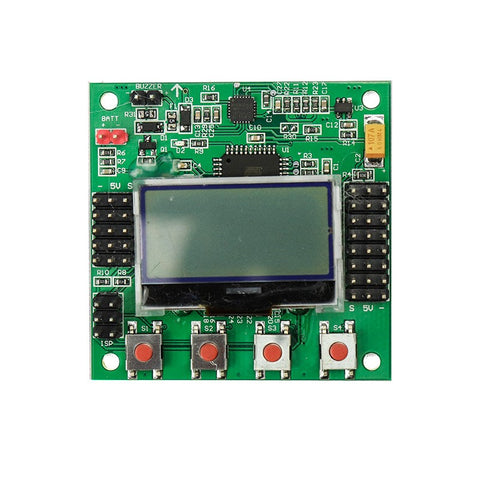
- Pixhawk / APM with GPS, or KK2.1.5 for basics
- Radio
- 6+ channel transmitter and receiver
- Weight · time
- 1.2–1.6 kg · 10–15 min
| Build | Frame | Props | Motors | ESC | Battery | Weight | Flies for |
|---|---|---|---|---|---|---|---|
| Tiny whoop | 65–75 mm ducted | 31–40 mm | 0802–110215,000–22,000 KV | 5 A all-in-one board | 1S 300–550 mAh | 25–35 g | 3–5 min |
| 3″ toothpick | 120–150 mm | 3″ | 1404–15053,800–4,600 KV (4S) | 12–20 A all-in-one | 4S 450–650 mAh | 110–160 g | 4–6 min |
| 5″ FPV | 220–250 mm carbon | 5 × 4.3 × 3 | 2207 / 23061,750–1,950 KV (6S) | 45–55 A 4-in-1 | 6S 1100–1300 mAh | 600–700 g | 3–5 min |
| 7″ long range | 295–320 mm carbon | 7 × 3.5 × 2 | 2806.5–28081,100–1,300 KV (6S) | 35–45 A 4-in-1 | 6S 1800–2200 LiPo or 6S Li-ion | 850–1100 g | 8–20 min |
| F450 quad | 450 mm glass-fibre | 10 × 4.5 | 2212920–1,000 KV (3–4S) | 4 × 30 A | 3S 2200–5200 mAh | 1.2–1.6 kg | 10–15 min |
| 550 hexa | 550 mm, 6 arms | 10–12″ | 2216 / 3508600–880 KV (4S) | 6 × 30–40 A | 4S 5000–10000 mAh | 2–3 kg | 12–18 min |
Every drone & RC shelf
Browse all drone & RC parts →The frame is sized by the props it carries.
Frames are measured by wheelbase: the diagonal distance between two opposite motor shafts, in millimetres. The props must spin without touching each other or the body, so the prop size sets the smallest frame you can use.
aMatch wheelbase to props
- 31–40 mm props: 65–75 mm whoop
- 3″ props: 120–150 mm
- 5″ props: 210–250 mm
- 7″ props: 295–330 mm
- 10″ props: 450 mm (F450)
- 10–12″ props: 500–550 mm (S500, F550 hexa)
- 15″ and up: 650 mm and larger
bPick the material
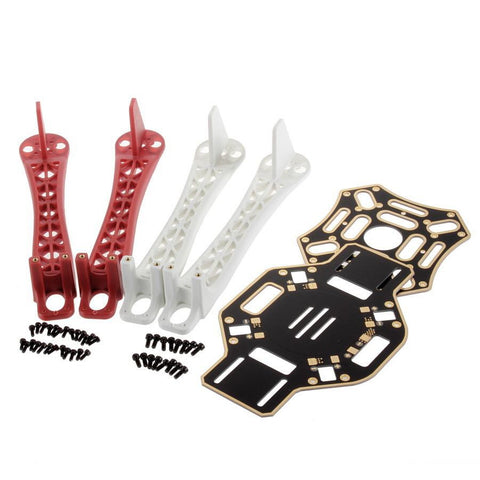
Glass-fibre plates with plastic arms (F450, F550): cheap, flexible in a crash, and the bottom plate is also the power board. Best for learning.
Carbon fibre: stiff and light, so the flight controller sees less vibration. Carbon conducts electricity, so keep bare wires and solder joints away from it.
Plastic or nylon: for tiny whoops and toy builds.
cPick the shape
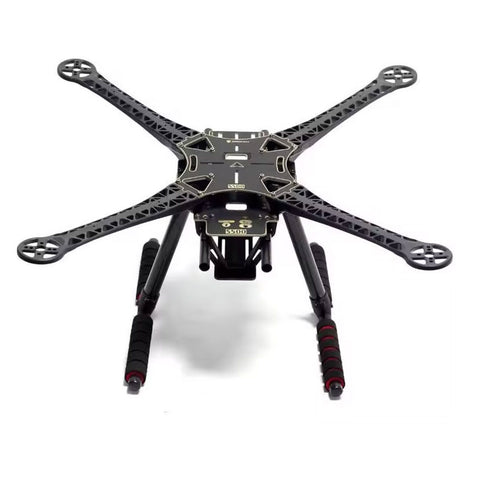
X / true X: all motors the same distance from the centre. Flies the same in every direction. The standard choice.
Stretched X / H: longer body, more room for electronics and a battery on top.
Deadcat: front arms swept wide so the props stay out of the camera view.
Hexa / octo: 6 or 8 motors for heavy payloads. It can sometimes land safely if one motor fails.
Check the motor mount pattern. Frames drill holes for a set motor size: 16 × 16 mm or 19 × 19 mm for most 22xx motors, 12 × 12 mm or 9 × 9 mm for small ones. Also check the flight controller stack size (30.5 × 30.5, 20 × 20 or 25.5 × 25.5 mm).
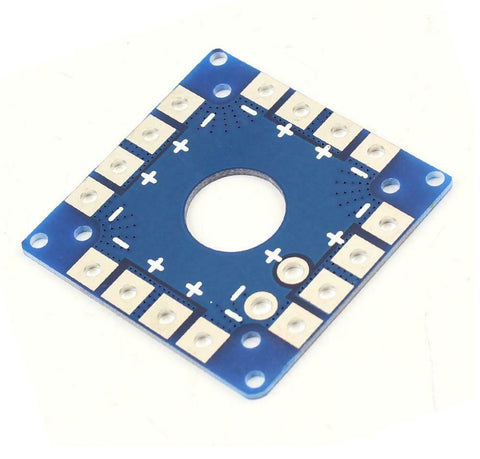
Frames, arms & power boards
See all →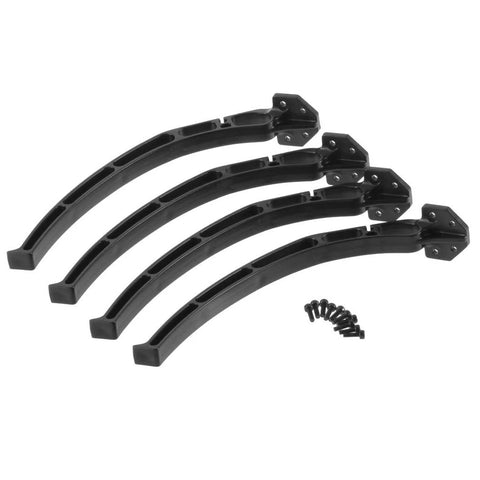
Big props want low KV. Small props want high KV.
Drones use brushless outrunner motors. Two numbers matter: the stator size and the KV. Then check the maker's thrust table to make sure the motors can lift your drone with power to spare.
aRead the stator size
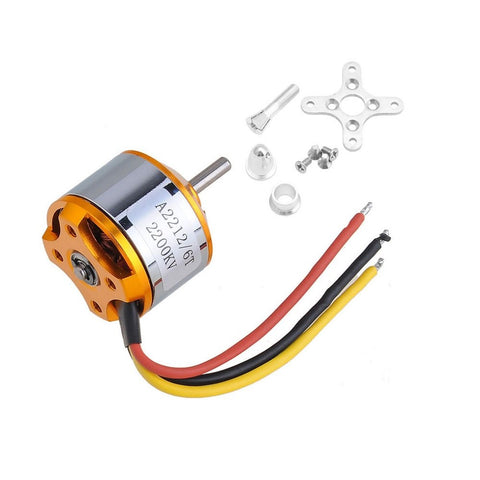
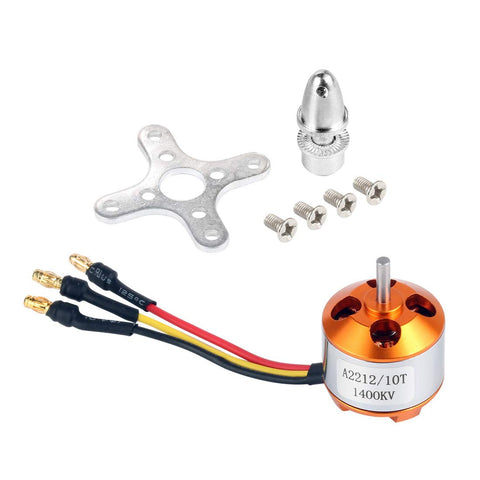
A 2212 motor has a stator 22 mm wide and 12 mm tall. A 2207 is 22 mm wide and 7 mm tall. A wider or taller stator has more torque, so it can turn a bigger or heavier prop.
bUnderstand KV
KV is the speed the motor turns per volt with no load. A 1000 KV motor on a 3S battery (11.1 V) spins at about 11,100 RPM. A big prop needs low KV so the motor does not overheat. A small prop needs high KV to make enough thrust. Use more cells (higher voltage) with lower KV for the same speed.
cGet the thrust right
Add up the thrust of all motors at full throttle and divide by the drone's all-up weight. That is the thrust-to-weight ratio:
- 2 : 1 minimum: heavy lift, camera and agriculture drones
- 3–4 : 1: smooth, sporty flying
- 5–10 : 1: FPV freestyle and racing
Thrust calculator
Step 1 works out how much thrust you need. Step 2 estimates what your motor and prop will give. Pick a build in chapter 01 to load its numbers.
Your 4 motors must give 2,800 g together at full throttle.
- Hover thrust per motor
- 350 g
- Full-throttle speed (est.)
- 8,100 RPM
- Thrust per motor (est.)
- 835 g
- Your thrust-to-weight
- 2.4 : 1
- Hover throttle (est.)
- 65%
Turn on JavaScript to use the calculator.
Step 2 is a rough estimate from a common prop formula (thrust grows with pitch × diameter³ × RPM²), assuming the motor reaches about 78% of KV × volts under load. Always check the motor maker's thrust table for your exact prop and battery.
Never use screws longer than the frame thickness plus the motor's thread depth. A screw that is too long touches the windings and shorts the motor. Most 22xx motors take M3 screws, small motors take M2.
Drone motors
See all →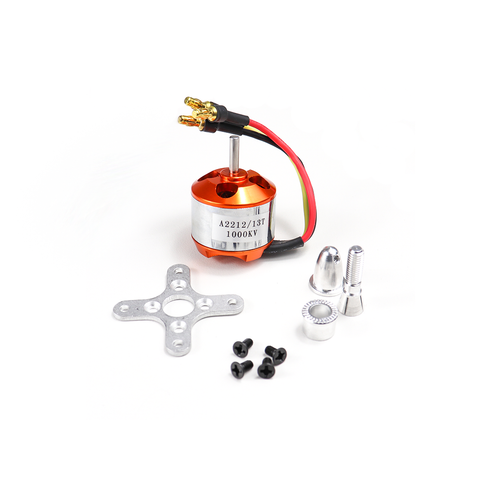
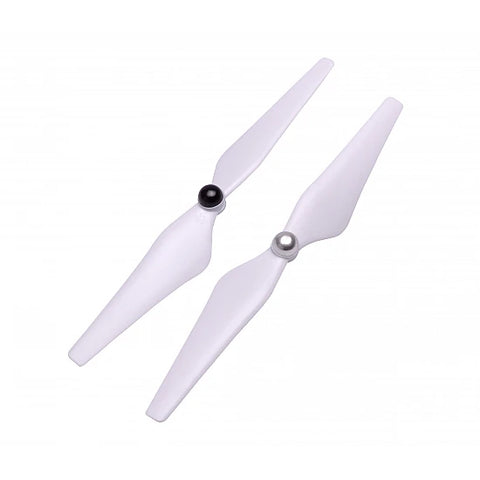
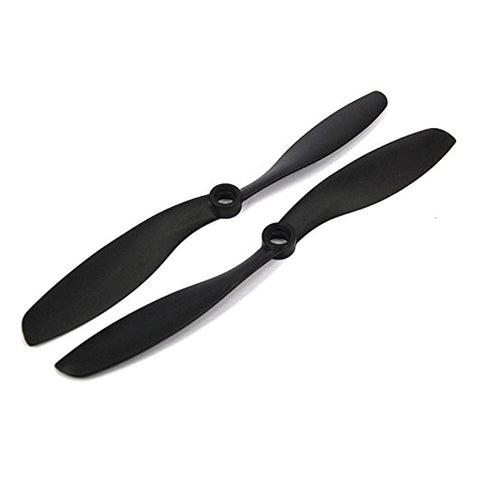
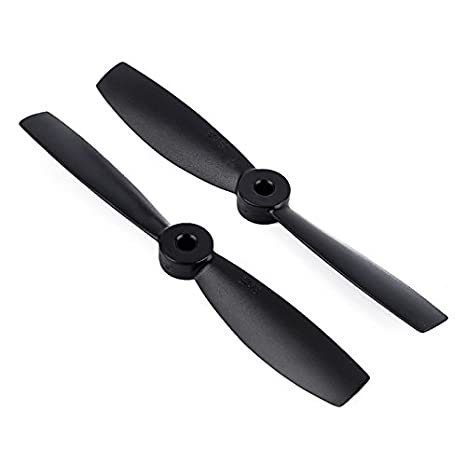
Read 1045 as 10 inches across, 4.5 inches of pitch.
The first number is the diameter. The second is the pitch: how far the prop would move forward in one turn. FPV props add a third number for the blade count, so 5 × 4.3 × 3 is a 5-inch, 4.3-pitch, three-blade prop.
aPitch and blades
Higher pitch means more top speed but more current. Lower pitch is smoother and more efficient.
More blades give more grip and quicker response, but use more power. Two blades are the most efficient, which is why long-range and camera drones use them.
bCW and CCW
A quad needs two props that spin clockwise (CW) and two that spin counter-clockwise (CCW). Opposite corners spin the same way, which cancels the twisting force. Fit the wrong prop and the drone flips on take-off.
Check the hub hole (M5 shaft, 5 mm or 6 mm) and the nut direction. Self-tightening nuts must match the motor's spin.
cMaterial
Plastic / nylon-glass: cheap and flexible. Bends in a crash and saves the motor.
Carbon fibre: stiff and efficient for big camera drones, but sharp and dangerous. Always balance big props before flying.
Prop guards: fit them for indoor flying and for beginners.
Propellers & guards
See all →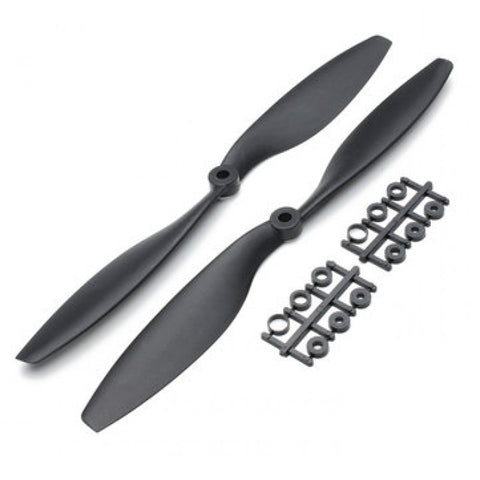
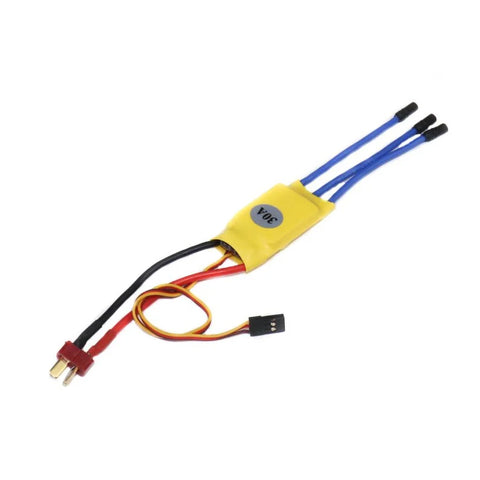
Give the ESC 25% more current than the motor draws.
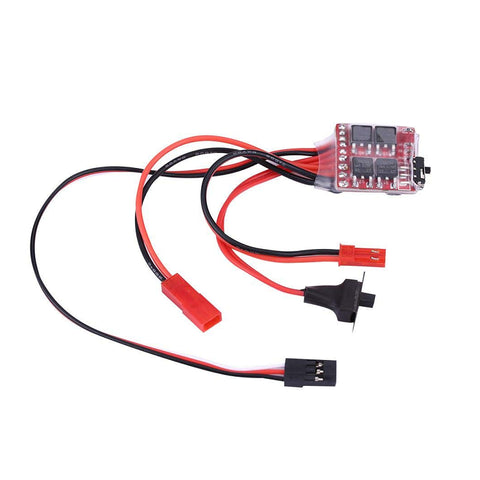
The electronic speed controller (ESC) turns the flight controller's signal into power for the motor. One ESC drives one motor. A 4-in-1 board drives four motors from one small board.
aCurrent rating
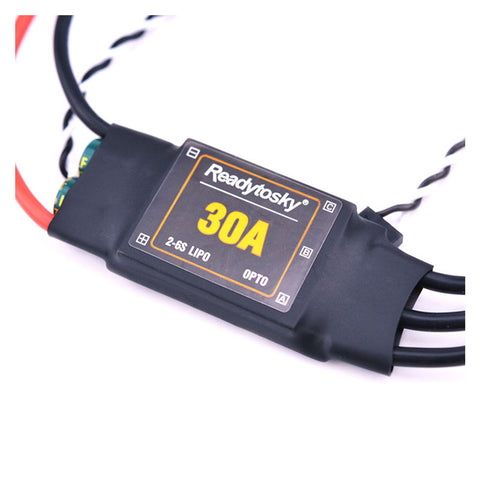
Find the motor's maximum current in its thrust table, with your prop and battery. Multiply by 1.25 and round up. Example: a 2212 920 KV motor on 1045 props and 3S pulls about 15 A at full throttle, so use a 20–30 A ESC. A 5″ racing motor on 6S can pull 35–40 A, so use 45 A or more.
bVoltage and BEC
The ESC must support your battery: 2–4S or 3–6S. Some ESCs have a BEC, which gives 5 V for the flight controller, receiver or servos. An "OPTO" ESC has no BEC, so you need a separate power module.
cFirmware and signal
BLHeli_S, BLHeli_32, AM32, Bluejay: modern firmware that supports DShot, the digital signal Betaflight uses. Older SimonK ESCs use PWM and suit F450 builds with APM, Pixhawk or KK2 boards.
4-in-1 is light and tidy for FPV. Single ESCs on each arm are easier to replace on big frames.
Solder a low-ESR capacitor (for example 1000 µF, 35 V for 4S, 50 V for 6S) across the battery pads. It absorbs voltage spikes that can kill an ESC and add noise to the FPV video.
ESC & BEC
See all →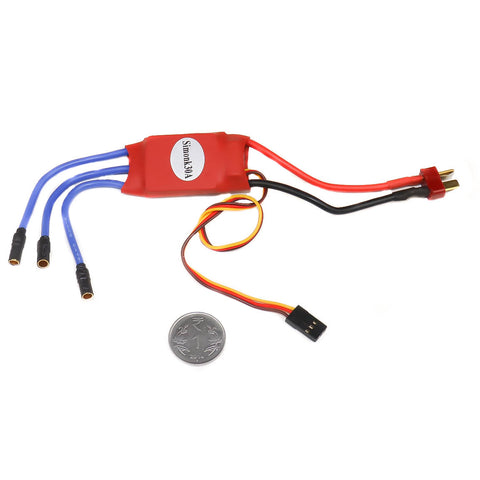
A bigger battery is not always a longer flight.
Every extra gram of battery needs more power to carry. Choose the cell count from your motors, the C rating from your current draw, and the capacity from the flight time you want. Then check it in the calculator.
SCells (voltage)
One LiPo cell is 3.7 V nominal and 4.2 V full. 3S = 11.1 V, 4S = 14.8 V, 6S = 22.2 V. Use the cell count your motors and ESC are rated for.
mAhCapacity
How much energy the pack holds. 5200 mAh is 5.2 Ah. More capacity means more flight time, but also more weight. A good rule: the battery should be about 25–35% of the all-up weight.
CDischarge rating
Maximum safe current = capacity in Ah × C. A 1300 mAh 100C pack can give 130 A. A 5200 mAh 35C pack can give 182 A. It must be more than all your motors together at full throttle. Use XT30 up to about 30 A, XT60 up to 60 A, and XT90 above that.
How to calculate flight time
Flight time (min) = capacity (Ah) × 0.8 × 60 ÷ average current (A)The 0.8 keeps 20% in the pack, so you never drain a LiPo to damage. Example: 5.2 Ah × 0.8 × 60 ÷ 19 A ≈ 13 minutes for an F450.
1Estimate the average current
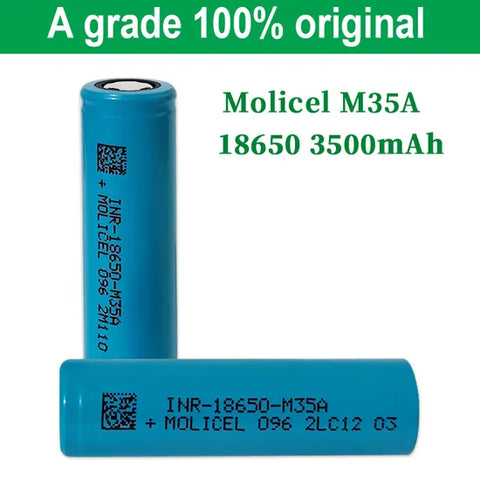
Hover power (W) ≈ all-up weight (g) ÷ efficiency (g/W). Big slow props lift about 7–9 g per watt; 5″ FPV props about 3–4 g per watt. Divide the power by the battery voltage to get the hover current, then add for your flying style: about 15% for gentle flying, 60% for sport, and double or more for freestyle.
2Check the weight spiral
If the time is too short, try one size up in capacity and add the extra battery weight to the all-up weight. If the time barely changes, the pack is already big enough. Lighter frames and bigger, slower props help more than a heavier battery.
Flight-time & build checker
Fill in your parts, or pick a build in chapter 01 to load its numbers.
Plan to land at about 11 minutes and keep a timer on your transmitter.
- Thrust-to-weight
- 2.4 : 1
- Average current
- 19 A
- Hover power
- 187 W
- Peak current (all motors)
- 60 A
- Battery can give
- 182 A
- ESC to buy
- 20 A or more
Turn on JavaScript to use the calculator. The formula above works with a phone calculator too.
These are estimates for planning. Real flight time depends on wind, temperature, battery age and how you fly.
LiPo & drone batteries
See all →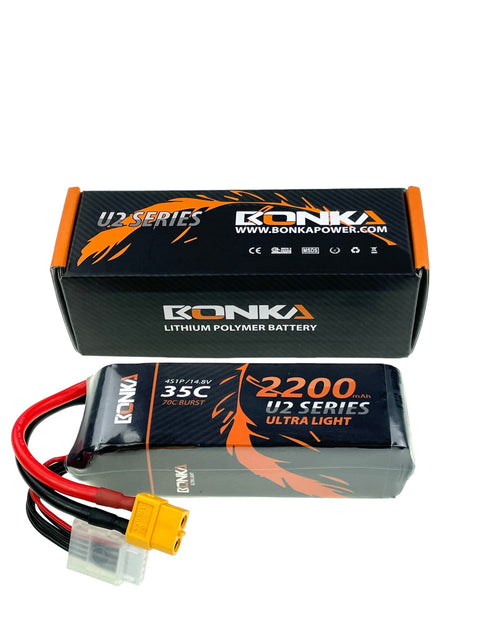
The flight controller keeps it level. You tell it where to go.
The flight controller (FC) reads its gyro hundreds of times a second and adjusts each motor. The radio sends your stick movements to it. Choose them by how you want to fly.
aFlight controller
Pixhawk / APM (ArduPilot, Mission Planner): GPS position hold, return-to-home and waypoint missions. Best for F450, hexa, survey and project drones.
F4 / F7 / H7 stack (Betaflight): fast and precise for FPV. Often sold as a stack with a 4-in-1 ESC.
KK2.1.5: simple, with an on-board screen. Good for learning the basics.
bTransmitter & receiver
You need at least 6 channels: 4 for the sticks, plus switches for arming and flight modes. The receiver must use the same protocol as the transmitter.
FlySky FS-i6 / i6X: the classic budget starter. ExpressLRS (ELRS): long range and fast, the FPV standard. Radiolink and Radiomaster: good mid-range radios.
cGPS, telemetry & FPV
GPS (M8N / M10): holds position and flies home if the radio signal is lost. Mount it high, away from power wires.
Telemetry: shows battery voltage and position on your phone or transmitter.
FPV camera + VTX + goggles: lets you fly from the drone's view. Analog is cheaper; digital is clearer.
Flight controllers & stacks
See all →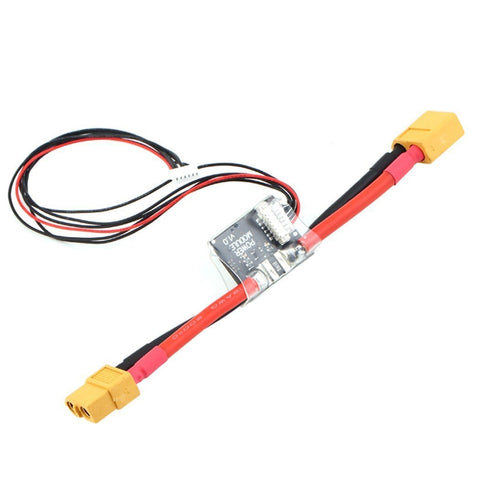
Build it in this order, and keep the props off until step 10.
You need a soldering iron (60 W or more for battery leads), solder, heat-shrink, hex drivers, cable ties, double-sided foam tape and a multimeter.
Dry-fit the frame
Put the frame together loosely. Place every part on it and plan where each wire will run before you solder anything.
Mount the motors
Fit the motors with the right screws and threadlocker. Run the motor wires along the arms, away from the prop arc.
Solder the power side
Solder the ESCs (or 4-in-1 board) to the power board, then the battery lead (XT60) and the capacitor. Red to +, black to −, every time.
Check polarity twiceMount the flight controller
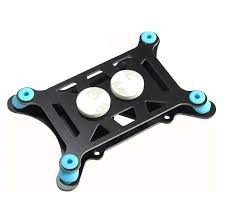
Fit it on soft rubber mounts in the centre, with its arrow pointing forward. Connect the ESC signal wires in the right motor order.
Fit the receiver & GPS
Bind the receiver to your transmitter. Point the antennas away from carbon and power wires. Mount GPS on a mast, away from the battery leads.
First power-up with a smoke stopper
Use a smoke stopper or current-limited supply for the first power-up. If anything is wrong, it limits the current before parts burn. Check with a multimeter that there is no short across the battery lead.
Set up the software
Betaflight for FPV, Mission Planner for Pixhawk/APM. Calibrate the accelerometer and compass, check the receiver channels move the right way, set an arm switch and flight modes, and set the failsafe so the drone lands or returns if the signal is lost.
Check motor order & direction
With props off, spin each motor from the software. Check it is the right motor and turns the right way. Fix a wrong direction in the ESC settings, or swap any two of its three wires.
Final checks
Tidy the wires and secure everything with cable ties. Strap the battery so it cannot slide. Check the centre of gravity: the drone should balance at its middle.
Props on, first hover
Fit CW and CCW props in the right corners and tighten the nuts. In an open field, take off to about 1 metre, hover for 30 seconds and land. Feel the motors: warm is fine, too hot to touch means a problem.
Props on only at the field
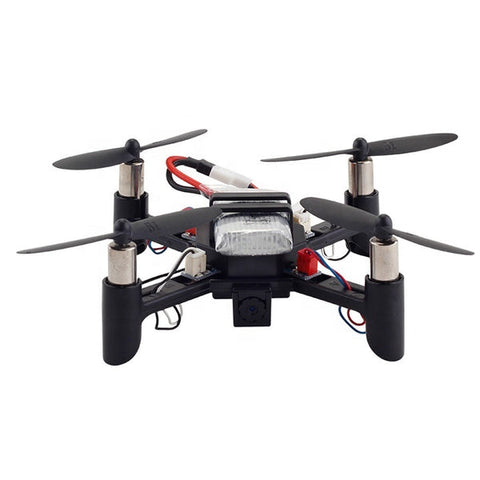
Skip the shopping list: DIY kits
See all →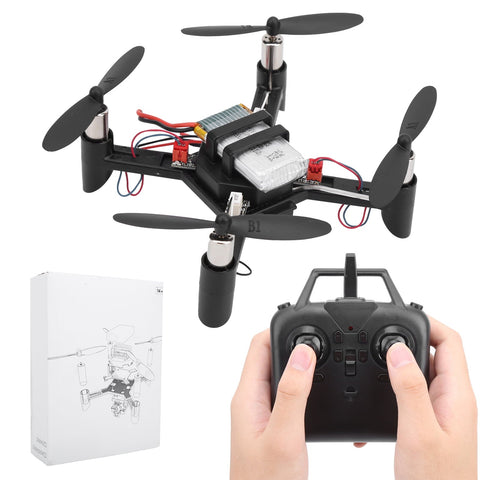
A good pilot is a boring pilot: same checks, every flight.
Props spin fast enough to cut skin, and a LiPo can catch fire if it is damaged or over-charged. Follow the same routine every time and most accidents never happen.
Pre-flight checklist
0 / 12Ticks are saved on this device only.
At the field
- Turn on the transmitter first, then plug in the drone. Unplug the drone first when you finish.
- Arm only when everyone is behind you.
- Take off into the wind and keep the drone in sight.
- Never fly over people, crowds or vehicles.
- Land when the timer or the low-voltage alarm goes off.
- If something feels wrong, land at once. Do not try to fix it in the air.
LiPo voltage per cell
Charge with a balance charger at 1C (a 2200 mAh pack at 2.2 A), in a LiPo-safe bag, and never leave it charging alone. Retire any pack that is puffed, dented or hot.
India drone rules in short
Digital Sky (DGCA) →Under the Drone Rules, 2021, drones are grouped by weight: nano up to 250 g, micro 250 g to 2 kg, small 2 to 25 kg, and larger classes above that.
Drones heavier than 250 g need to be registered on Digital Sky for a Unique Identification Number (UIN). Flying for work, or flying anything above the micro class, needs a Remote Pilot Certificate.
This is a short summary to help you plan, not legal advice. Rules change, so always check the latest rules and the airspace map on Digital Sky before you fly.
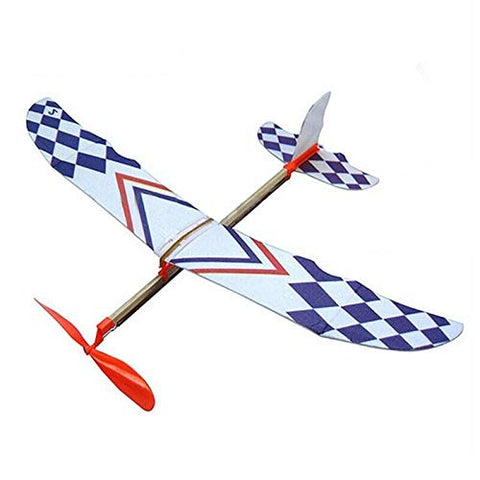
Build a plane from balsa, depron or foam board.
A fixed-wing plane flies longer than a drone on the same battery, because the wing does the lifting. A simple high-wing trainer is the best first build: it flies slowly, recovers on its own and is easy to repair.
Balsa
The classic
Light, stiff wood for built-up wings, gliders and scale models. Needs a sharp knife, sanding and covering film. Glue with CA or wood glue.
Depron
Light and smooth
3–6 mm foam sheet. Cuts with a blade and bends with gentle heat. Great for park flyers, indoor and 3D planes. Use foam-safe CA, UHU Por or low-temperature hot glue.
Foam board
The budget trainer
Paper-faced foam board is cheap and easy to find. Score, fold and hot-glue a whole plane in an evening. A bit heavier, but tough enough for learning.
EPP & extras
Crash-proof
EPP foam bends instead of breaking, for flying wings and combat. Add carbon rods or bamboo skewers as spars, and plywood for the motor mount.
Parts for a 1-metre trainer
| Part | What to buy | Why |
|---|---|---|
| Motor | 2212 brushless outrunner, 1000–1400 KV | About 150 W per kg of plane on 3S |
| ESC | 30 A with BEC | The BEC powers the receiver and servos |
| Propeller | 8 × 4 to 10 × 4.7 (slow-fly or electric) | Bigger prop with lower KV, smaller with higher KV |
| Servos | 4 × 9 g (SG90, or MG90S metal gear) | Ailerons, elevator, rudder |
| Battery | 3S 1300–2200 mAh LiPo | 12–20 minutes of relaxed flying |
| Radio | 4 channels minimum, 6 recommended | Spare channels for flaps or lights |
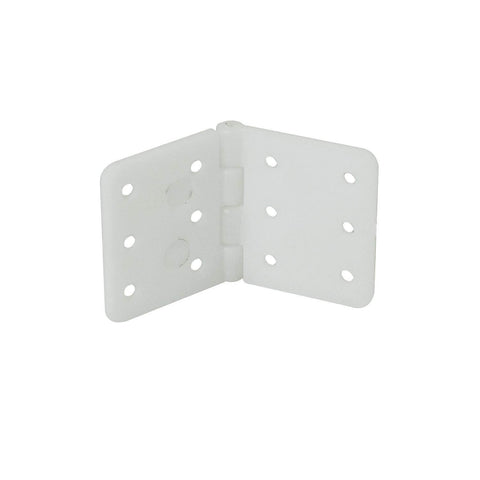
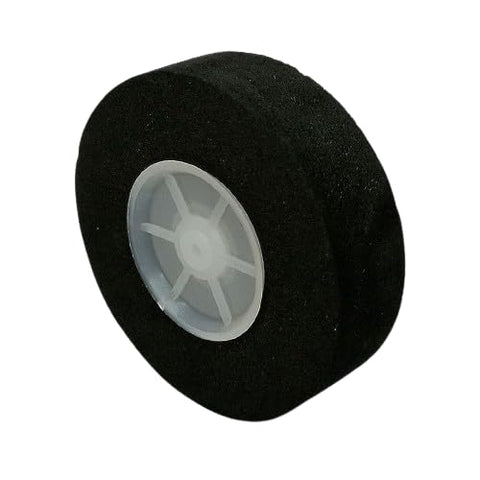
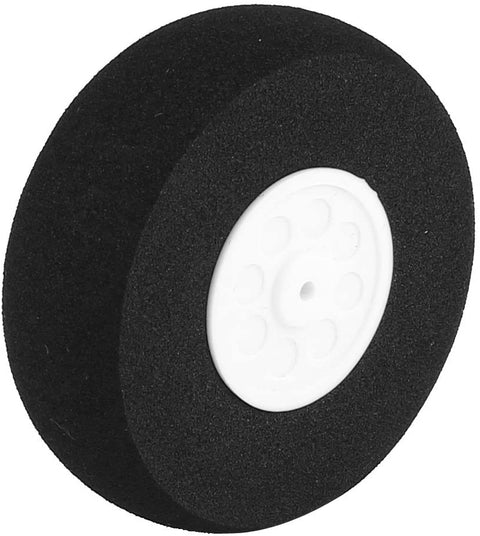
| Hardware | Pushrods, control horns, clevises, hinge tape, motor mount, wheels | Links the servos to the control surfaces |
Step by step
Choose a design
A high-wing trainer with a 900–1200 mm span and a flat-bottom wing. Print the plans at full size and tape the pages together.
Cut the wing
Cut both halves from the plan. Add 3–5° of dihedral (tips raised) so the plane levels itself. Glue a carbon rod or skewer spar along the thickest part.
Build the fuselage
Make a box fuselage with a plywood firewall at the front for the motor. Give the motor 2–3° of down thrust and 2–3° of right thrust.
Add the tail
The horizontal tail should be about 20–25% of the wing area. Make sure the tail sits square to the wing, looking from behind.
Hinge the control surfaces
Cut ailerons, elevator and rudder about 25% of the surface depth. Hinge with tape on both sides so they move freely with no gap.
Fit servos & linkages
Centre each servo with the radio on, then fit the horn. Use Z-bends or clevises so the pushrods cannot slip. Nothing should bind.
Install the electronics
Motor on the firewall, ESC where air can cool it, receiver in the middle, battery on hook-and-loop so you can slide it to balance.
Balance the CG
The plane must balance at 25–33% of the wing chord from the leading edge. Slide the battery to adjust. A nose-heavy plane flies; a tail-heavy plane crashes.
Use the calculator belowSet the control throws
Check every surface moves the right way. Start with gentle throws, about 8–10 mm up and down on the elevator and ailerons. Do a range check.
Maiden flight
Pick a calm morning and a big open field. Hand-launch straight into the wind, wings level, at three-quarter throttle. Climb gently, then trim it to fly straight hands-off.
Wing & balance calculator
For a straight (rectangular) wing. For a tapered wing, use the average chord.
Trainer: flies slowly and is easy to land.
- Wing area
- 20.0 dm²
- Balance point (CG)
- 50–66 mm from the leading edge
- Power for a trainer
- ≈ 110 W
- Power for aerobatics
- ≈ 150 W
Turn on JavaScript to use the calculator.
RC plane parts
See all →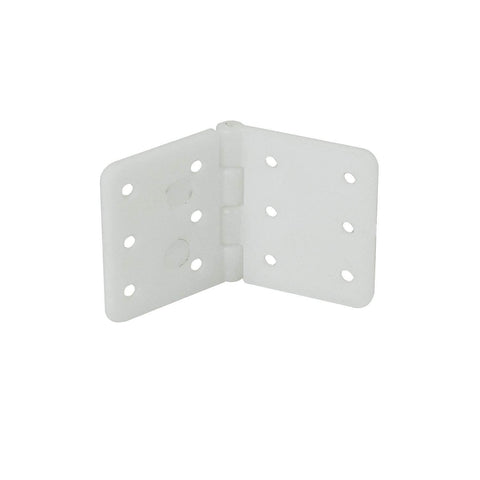
Questions builders ask us
Is it cheaper to build a drone than to buy one?
Usually yes, for the same performance, and it is much cheaper to repair: you replace one arm, prop or motor instead of the whole drone. You also learn how every part works. If you only want aerial photos with no build, a ready-to-fly drone is simpler.
Which drone should I build first?
An F450 quad with 2212 motors, 30 A ESCs, 1045 props and a 3S battery. It is low-cost, tough, and works with simple or GPS flight controllers. If you want FPV, practise on a simulator first, then build a 5-inch or a tiny whoop.
Do I need a licence to fly my drone in India?
Nano drones up to 250 g are the simplest category. Drones above 250 g need to be registered on DGCA's Digital Sky platform, and flying for work needs a Remote Pilot Certificate. Always check the Digital Sky airspace map before you fly. Rules change, so check the latest rules there.
How do I calculate my drone's flight time?
Flight time in minutes = battery capacity in Ah × 0.8 × 60 ÷ average current in amps. For example, a 5200 mAh pack on a drone that draws 19 A gives about 13 minutes. Use the calculator in chapter 06 to estimate the current from your drone's weight.
How much thrust do my motors need?
All motors together should give at least twice the drone's all-up weight at full throttle (2 : 1). Use 3–4 : 1 for sporty flying and 5 : 1 or more for FPV freestyle and racing.
Which battery should I choose?
Match the cell count (3S, 4S, 6S) to your motors and ESC. Pick a C rating so that capacity in Ah × C is more than the total current of all motors. Then choose the capacity for the flight time you want, keeping the battery at about 25–35% of the drone's weight.
Can you help me choose parts for my build?
Yes. Send your plan or parts list on WhatsApp at 82499 31161 or email info@indianhobbycenter.com, and we will check that the parts work together.
How much is shipping?
Standard shipping is a flat ₹75 and express is ₹120, with no minimum order. Orders above ₹1,999 ship free with the code FREESHIPPING.
Stuck on a build? Send us your parts list.
Tell us what you want to build and we will help you pick parts that work together.
Learn. Shop. Share.